Leather seats are a luxurious addition to any vehicle, adding a touch of elegance and sophistication. However, to maintain their premium appearance and durability, leather seats require proper care. Cleaning and protecting leather seats are essential to prevent wear, cracking, and fading. In this guide, we will walk you through the steps to effectively clean and protect your leather seats, ensuring they remain in top condition for years to come.
Why Leather Seats Require Special Care
Leather is a natural material that is prone to damage if not cared for properly. Over time, exposure to sunlight, moisture, and friction can cause the leather to deteriorate. In Amarillo, TX, where temperatures can soar, the harsh sun can dry out leather seats, leading to cracks and fading. Regular maintenance helps preserve the leather’s natural oils and keeps it soft and supple.
Types of Leather Seats
Before diving into the cleaning process, it’s important to understand the type of leather seats in your vehicle. There are various types of automotive leather, each requiring different care:
- Aniline Leather: Natural and soft, but highly susceptible to stains.
- Semi-Aniline Leather: Treated with a light protective coating, making it slightly more durable.
- Pigmented Leather: Most common in vehicles; it has a protective coating that makes it more resistant to wear and tear.
Knowing your leather type will help you choose the right cleaning and protection products.
How to Clean Leather Seats
Step 1: Gather the Necessary Tools
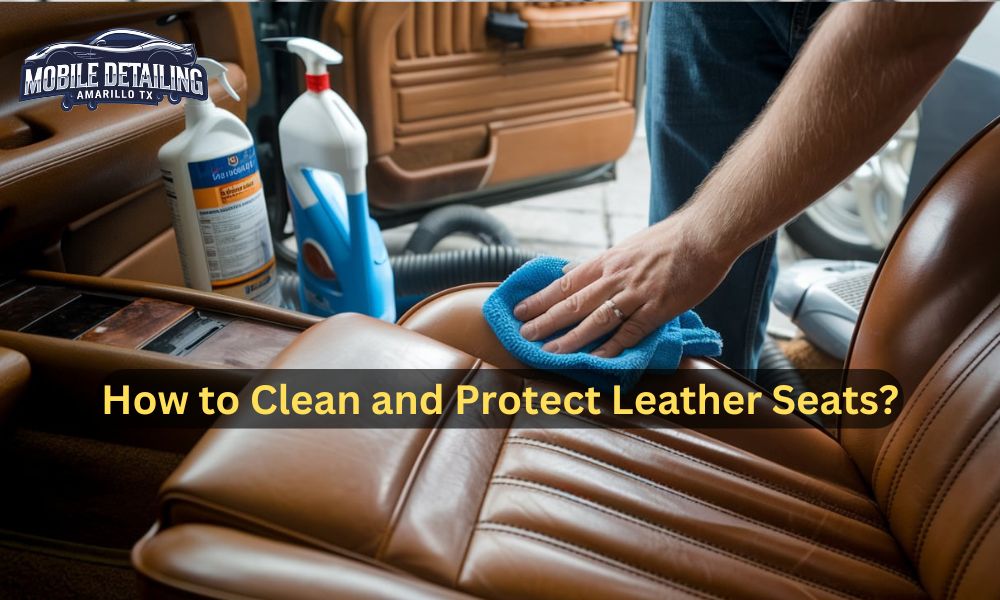
To clean leather seats effectively, you will need the following tools and products:
- A soft microfiber cloth
- Leather cleaner (pH-balanced and suitable for automotive leather)
- A soft-bristled brush
- A vacuum cleaner with a soft brush attachment
- Leather conditioner
Avoid using household cleaners, as they may contain harsh chemicals that can damage the leather. Always opt for products specifically designed for leather seats.
Step 2: Vacuum the Seats
Before applying any cleaning products, use a vacuum cleaner with a soft brush attachment to remove dust, dirt, and debris from the seats. Pay attention to crevices and seams where debris tends to accumulate. Vacuuming prevents dirt from scratching the leather during the cleaning process.
Step 3: Apply Leather Cleaner
Once the seats are free of dirt, apply a small amount of leather cleaner to a soft microfiber cloth. Gently rub the cleaner onto the leather in circular motions, ensuring even coverage. Avoid applying the cleaner directly to the leather, as it may cause oversaturation.
For heavily soiled areas, use a soft-bristled brush to gently scrub the surface. Be careful not to apply too much pressure, as this can damage the leather.
Step 4: Wipe Away Excess Cleaner
After cleaning, use a dry microfiber cloth to wipe away any excess cleaner. Make sure to remove all traces of the cleaner to prevent residue buildup, which can attract dirt and cause the leather to become sticky.
Step 5: Allow the Leather to Dry
Once the seats have been cleaned, allow them to air dry naturally. Avoid exposing the leather to direct sunlight or using a hairdryer, as excessive heat can cause the leather to crack.
How to Protect Leather Seats
Cleaning alone is not enough to maintain leather seats; protecting them is equally important. Leather protection involves conditioning and safeguarding the material from harmful elements like UV rays, moisture, and dirt.
Step 1: Apply Leather Conditioner
After the seats have dried, it’s time to apply a leather conditioner. A quality leather conditioner helps restore the leather’s natural oils and prevents it from drying out. It also adds a layer of protection against future wear.
To apply, place a small amount of conditioner on a clean microfiber cloth and rub it into the leather using circular motions. Focus on areas that receive the most wear, such as the seat cushions and bolsters. Allow the conditioner to penetrate the leather for at least 10-15 minutes.
Step 2: Buff the Seats
After the conditioner has been absorbed, use a clean, dry microfiber cloth to buff the seats, giving them a soft, smooth finish. Buffing helps to remove any excess conditioner and enhances the leather’s natural shine.
Step 3: Protect Against UV Rays
In Amarillo, TX, where the sun is intense, protecting your leather seats from UV rays is crucial. Over time, exposure to the sun can cause the leather to fade and crack. To prevent this, use a UV protectant specifically designed for leather. This will add an extra layer of defense against harmful sun damage.
Step 4: Use Seat Covers
For added protection, consider using seat covers, especially if your vehicle is frequently exposed to harsh weather conditions. Seat covers can help shield the leather from spills, dirt, and direct sunlight, prolonging its lifespan.
Additional Tips for Leather Seat Care
- Clean Spills Immediately: Leather is porous and can absorb liquids, leading to stains. If a spill occurs, clean it immediately with a damp cloth to prevent damage.
- Avoid Harsh Chemicals: Never use bleach, ammonia, or other harsh chemicals on leather seats, as they can cause discoloration and damage to the material.
- Keep Pets Off Leather Seats: Pets’ claws can scratch leather surfaces. If you frequently travel with pets, consider using protective seat covers or placing a blanket over the seats.
Common Mistakes to Avoid
While cleaning and protecting leather seats is relatively simple, there are a few common mistakes that can lead to damage:
- Over-saturating the Leather: Applying too much cleaner or conditioner can cause the leather to become sticky and attract dirt. Always use products sparingly.
- Using Abrasive Tools: Avoid using stiff brushes or scrubbing too hard, as this can damage the leather’s surface.
- Neglecting Regular Maintenance: Leather seats require consistent care. Cleaning and conditioning should be done at least once every three to six months, depending on usage and exposure to elements.
The Importance of Regular Maintenance
Regular cleaning and protection not only enhance the appearance of your leather seats but also extend their lifespan. Leather that is well-maintained will resist cracking, fading, and wear, ensuring that your vehicle retains its luxurious feel for years to come.
In Amarillo, TX, where weather conditions can be extreme, taking proactive measures to care for your leather seats is especially important. The combination of high temperatures and direct sunlight can accelerate the aging process of leather, making regular maintenance a necessity.
Conclusion
Cleaning and protecting leather seats is essential for preserving their beauty and durability. By following the steps outlined in this guide—vacuuming, using proper cleaners, conditioning, and protecting against UV rays—you can ensure your leather seats remain in excellent condition. Regular maintenance will not only keep your vehicle looking luxurious but also enhance its resale value. Invest in the right tools and products, and your leather seats will reward you with years of comfort and style.


